How To Do Ribbing In Crochet
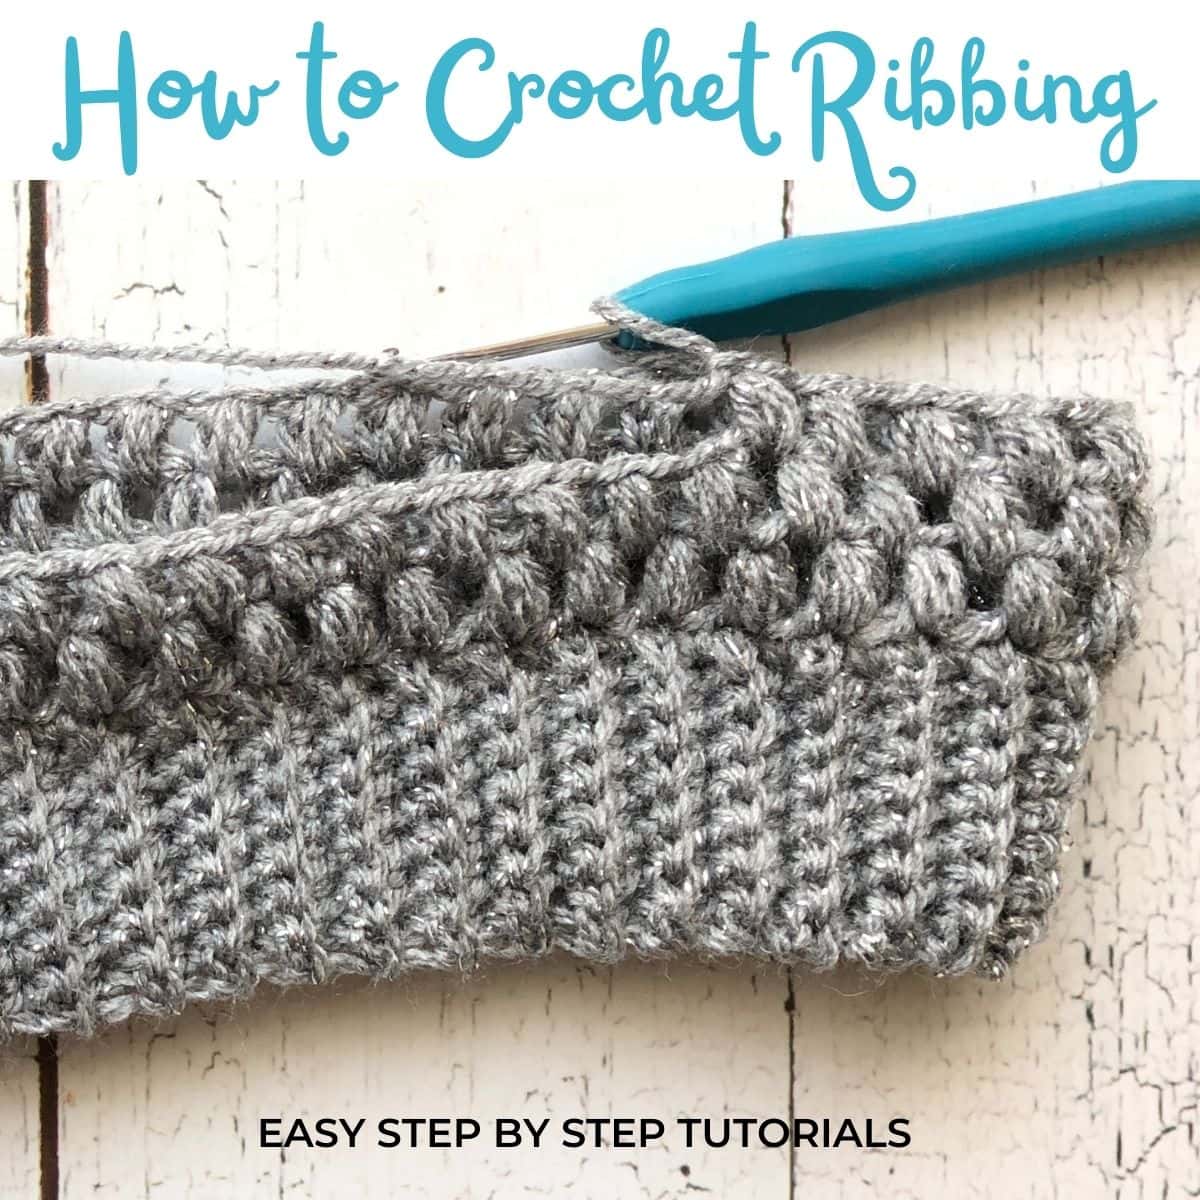
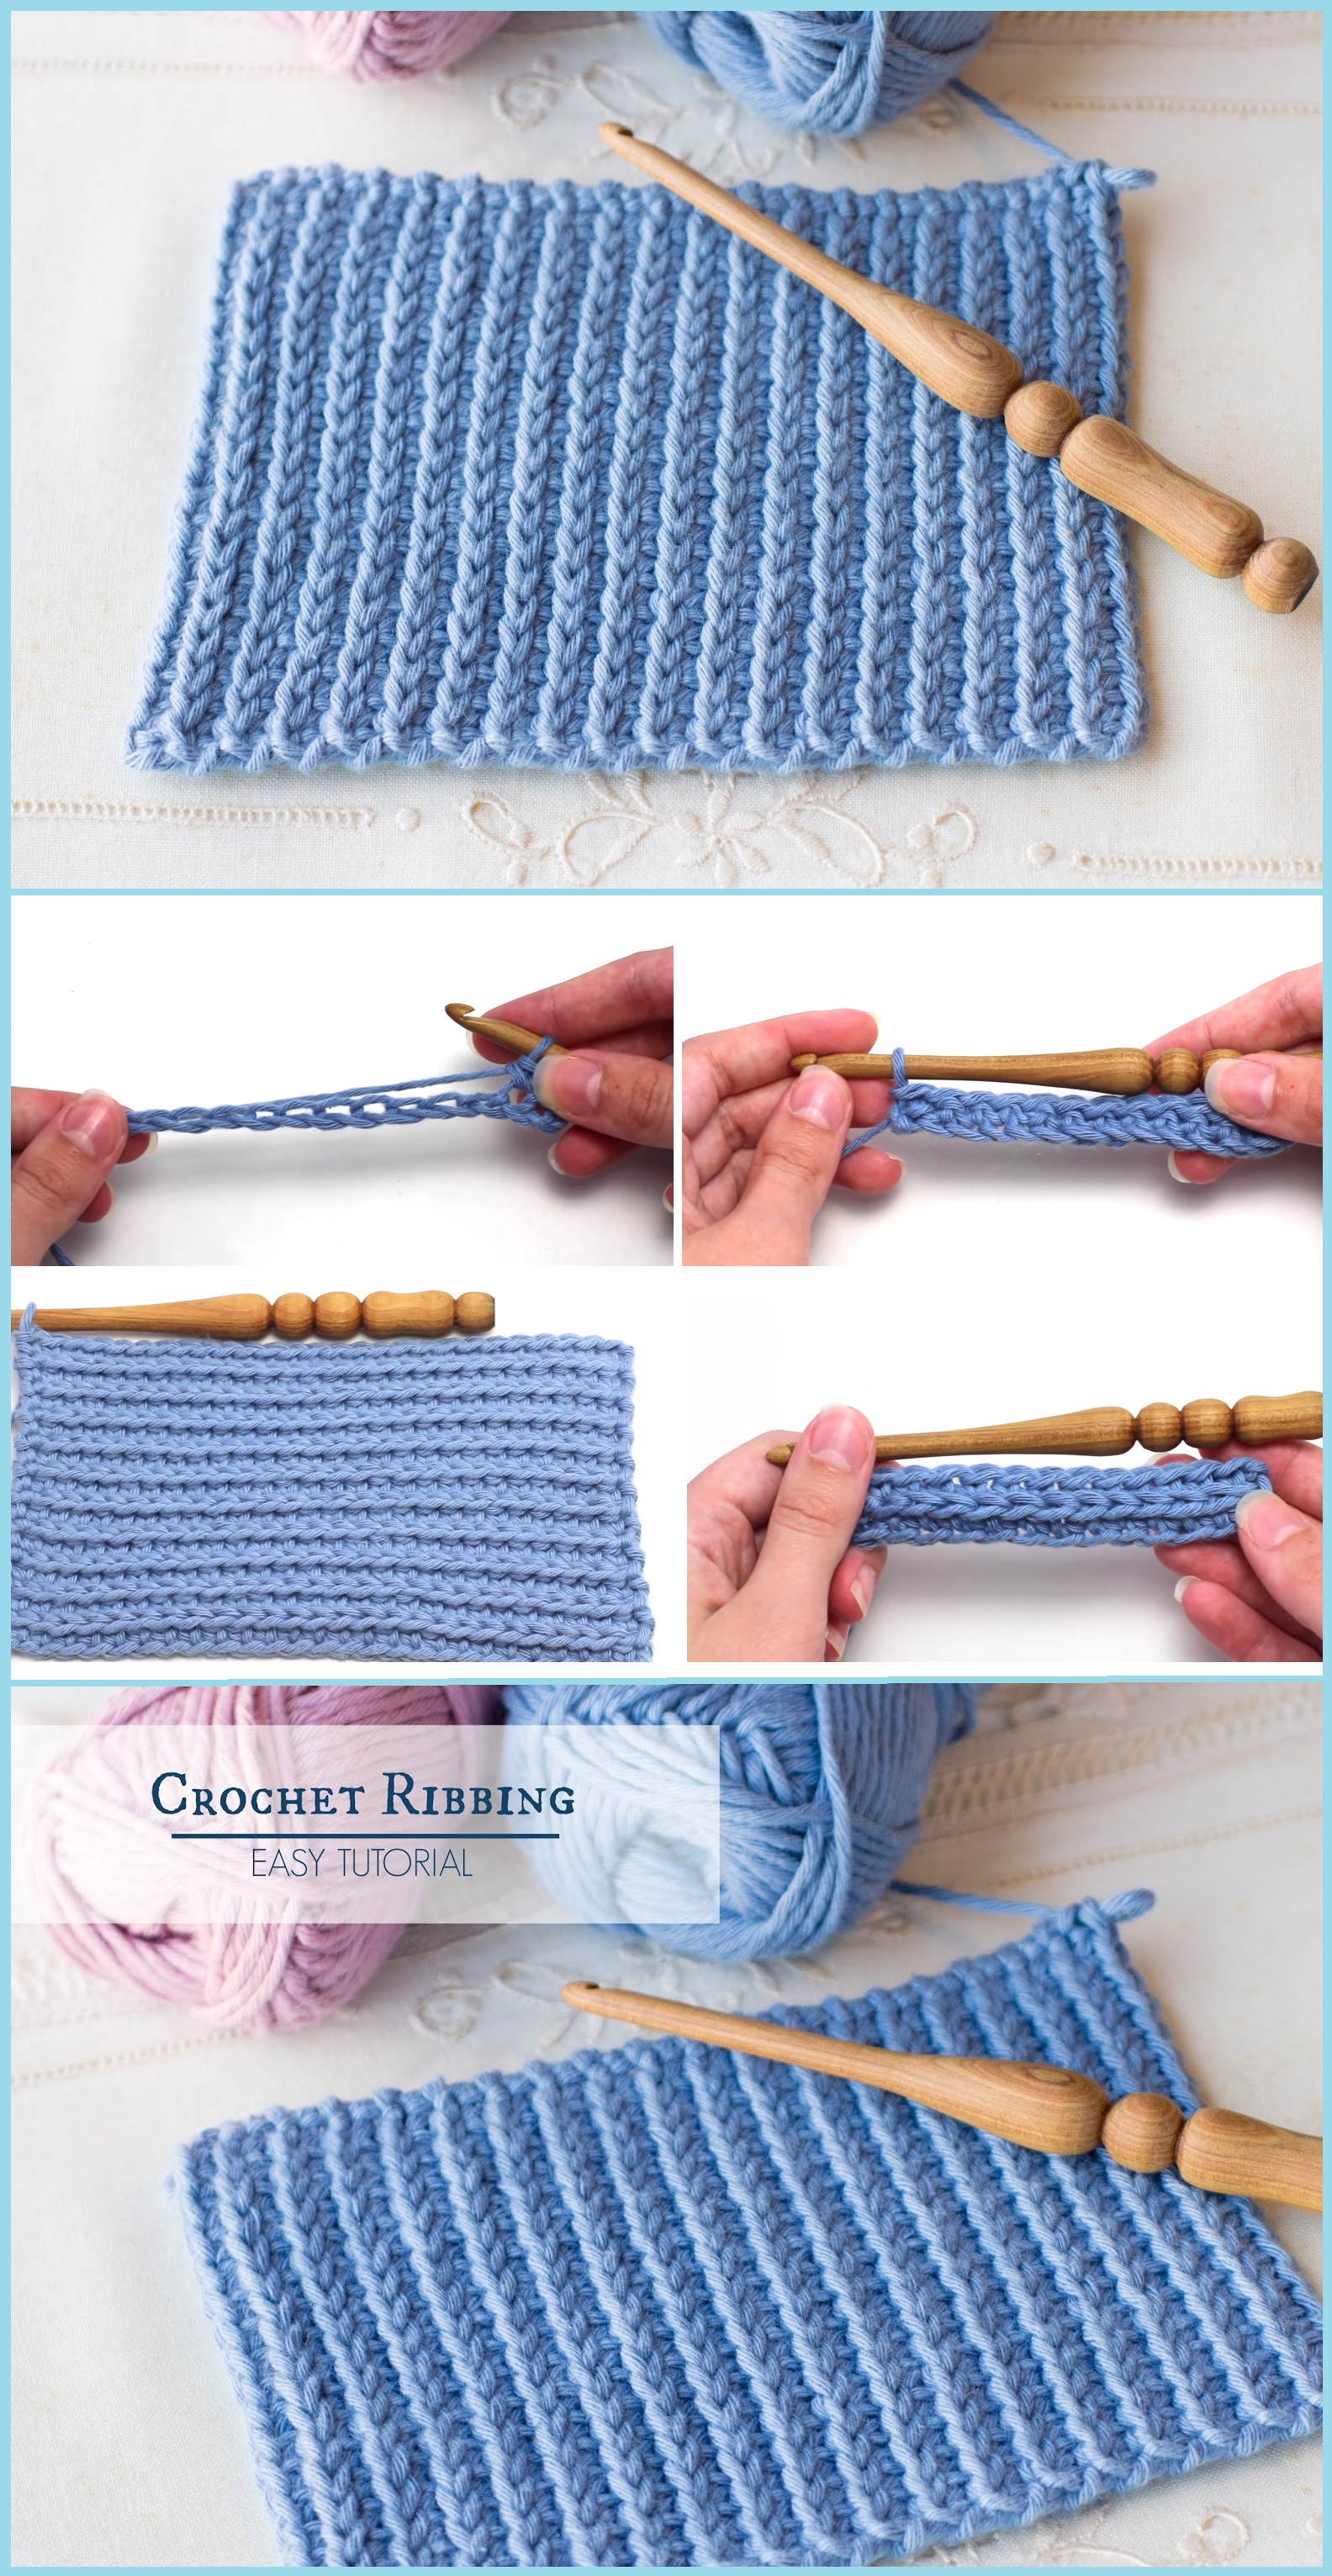
How To Do Ribbing In Crochet - Web how to make ribbing? In order to make a crochet ribbing stitch, you have to apply relief crochet, otherwise known as post stitches, or back loop only technique. Web if you’re on the hunt for a crochet ribbing to add to your sweater, beanie, or any other project, i have you covered! Web learn how to do crochet ribbing with this easy tutorial for beginners. Both vertical and horizontal ribbing can be created by learning three very easy and helpful techniques. Horizontal ribbing is where the rib is created by the stitches. When i was designing my first crochet sweater (the york), i was in the lookout of an edging to add as ribbing. (row 1) single crochet in each stitch across the row. So the length of the rib depends on the number of stitches. Web fortunately, you don't have to have knitting skills to make ribbing for your project. Slip stitch crochet ribbing and single crochet ribbing. Web it plays an important functional role in the fit of crocheted garments, keeping hats snug on your head, pulling in the cuffs on sweaters, and keeping your socks up! Web fortunately, you don't have to have knitting skills to make ribbing for your project. Step by step instructions and photos for 5 easy styles of rib. I’ll show you step by step how to make two kinds of crochet ribbing: Web october 11, 2023 by sarah reed. You can use any yarn weight you like for this stitch pattern. Web in this pose you will learn how to crochet ribbing 6 easy ways. I’m using a worsted weight yarn from we crochet called heatherly worsted. Web crochet ribbing is perfect for creating texture in a project, or adding a fitted shape without actually having to do any shaping. Knitted ribbing is made of interlocked loops of yarn that stretch and spring back into position when pulled and released. Now simply repeat steps 2 & 3 until your piece is as long as you’d like! Web this tutorial shows you how to crochet ribbing directly onto your project. Pretty much anything you want ribbing added to! If you know. Step into the whimsical world of crochet ribbing, where yarn becomes a symphony of stretchy stitches! When i was designing my first crochet sweater (the york), i was in the lookout of an edging to add as ribbing. Chain any number of stitches. Below, i’ll show you how to make two easy ribbing techniques for. Web crochet ribbing is perfect. Web how to crochet: I’m using a worsted weight yarn from we crochet called heatherly worsted. Now simply repeat steps 2 & 3 until your piece is as long as you’d like! Chain any number of stitches. Both vertical and horizontal ribbing can be created by learning three very easy and helpful techniques. Horizontal ribbing is where the rib is created by the stitches. Web if you’re on the hunt for a crochet ribbing to add to your sweater, beanie, or any other project, i have you covered! Web crochet ribbing can be created using different types of stitches, but the most common stitch used is the single crochet stitch (which is also. Web crochet ribbing is perfect for creating texture in a project, or adding a fitted shape without actually having to do any shaping. Web to work single crochet ribbing, you will need a few basic materials. Here’s what you need to get started: Web october 11, 2023 by sarah reed. Step by step instructions and photos for 5 easy styles. Step into the whimsical world of crochet ribbing, where yarn becomes a symphony of stretchy stitches! Here, we’ll go over the two methods for achieving this look. Web there are two ways to approach crocheting ribbing using post stitches. (row 1) single crochet in each stitch across the row. Web crochet ribbing behaves differently to the knitted ribbing you see. Pretty much anything you want ribbing added to! Web crochet ribbing is perfect for creating texture in a project, or adding a fitted shape without actually having to do any shaping. This technique works from crochet thread all the way to jumbo yarns. Here, we’ll go over the two methods for achieving this look. Knitted ribbing is made of interlocked. I’ll show you step by step how to make two kinds of crochet ribbing: Step into the whimsical world of crochet ribbing, where yarn becomes a symphony of stretchy stitches! Web welcome to this soothing crochet tutorial! It’s super easy, lays flat every time, and and looks beautiful. Web learn how to do crochet ribbing with this easy tutorial for. Web there are two ways to approach crocheting ribbing using post stitches. When i was designing my first crochet sweater (the york), i was in the lookout of an edging to add as ribbing. So the length of the rib depends on the number of stitches. Chain any number of stitches. In order to make a crochet ribbing stitch, you. Web fortunately, you don't have to have knitting skills to make ribbing for your project. You can either make rib run vertically or horizontally. It’s super easy, lays flat every time, and and looks beautiful. I’ll show you step by step how to make two kinds of crochet ribbing: Step by step instructions and photos for 5 easy styles of. Crochet ribbing is good for two things: (row 2) ch 1, turn, slip stitch in each stitch across the row. Web this crochet brim technique is absolutely perfect for beanie, but you can also use it for the ribbing on sweater hems, cuffs, and necklines. Web this tutorial shows you how to crochet ribbing directly onto your project. Slip stitch crochet ribbing and single crochet ribbing. Knitted ribbing is made of interlocked loops of yarn that stretch and spring back into position when pulled and released. Crochet ribbing consists of a combination of simple stitches, usually worked in the back loops only or using front or back post stitches to create ridges. Step into the whimsical world of crochet ribbing, where yarn becomes a symphony of stretchy stitches! Horizontal ribbing is where the rib is created by the stitches. I’ll show you step by step how to make two kinds of crochet ribbing: Web there are two ways to approach crocheting ribbing using post stitches. I will demonstrate in the video (at bottom of post), 3 different types of ribbing you can achieve with slip stitches, single crochet stitches & half double crochet stitches. However, you can also experiment with other stitches like half double crochet, double crochet, or front post/back post stitches to achieve different ribbing patterns. When i was designing my first crochet sweater (the york), i was in the lookout of an edging to add as ribbing. Now simply repeat steps 2 & 3 until your piece is as long as you’d like! Here, we’ll go over the two methods for achieving this look.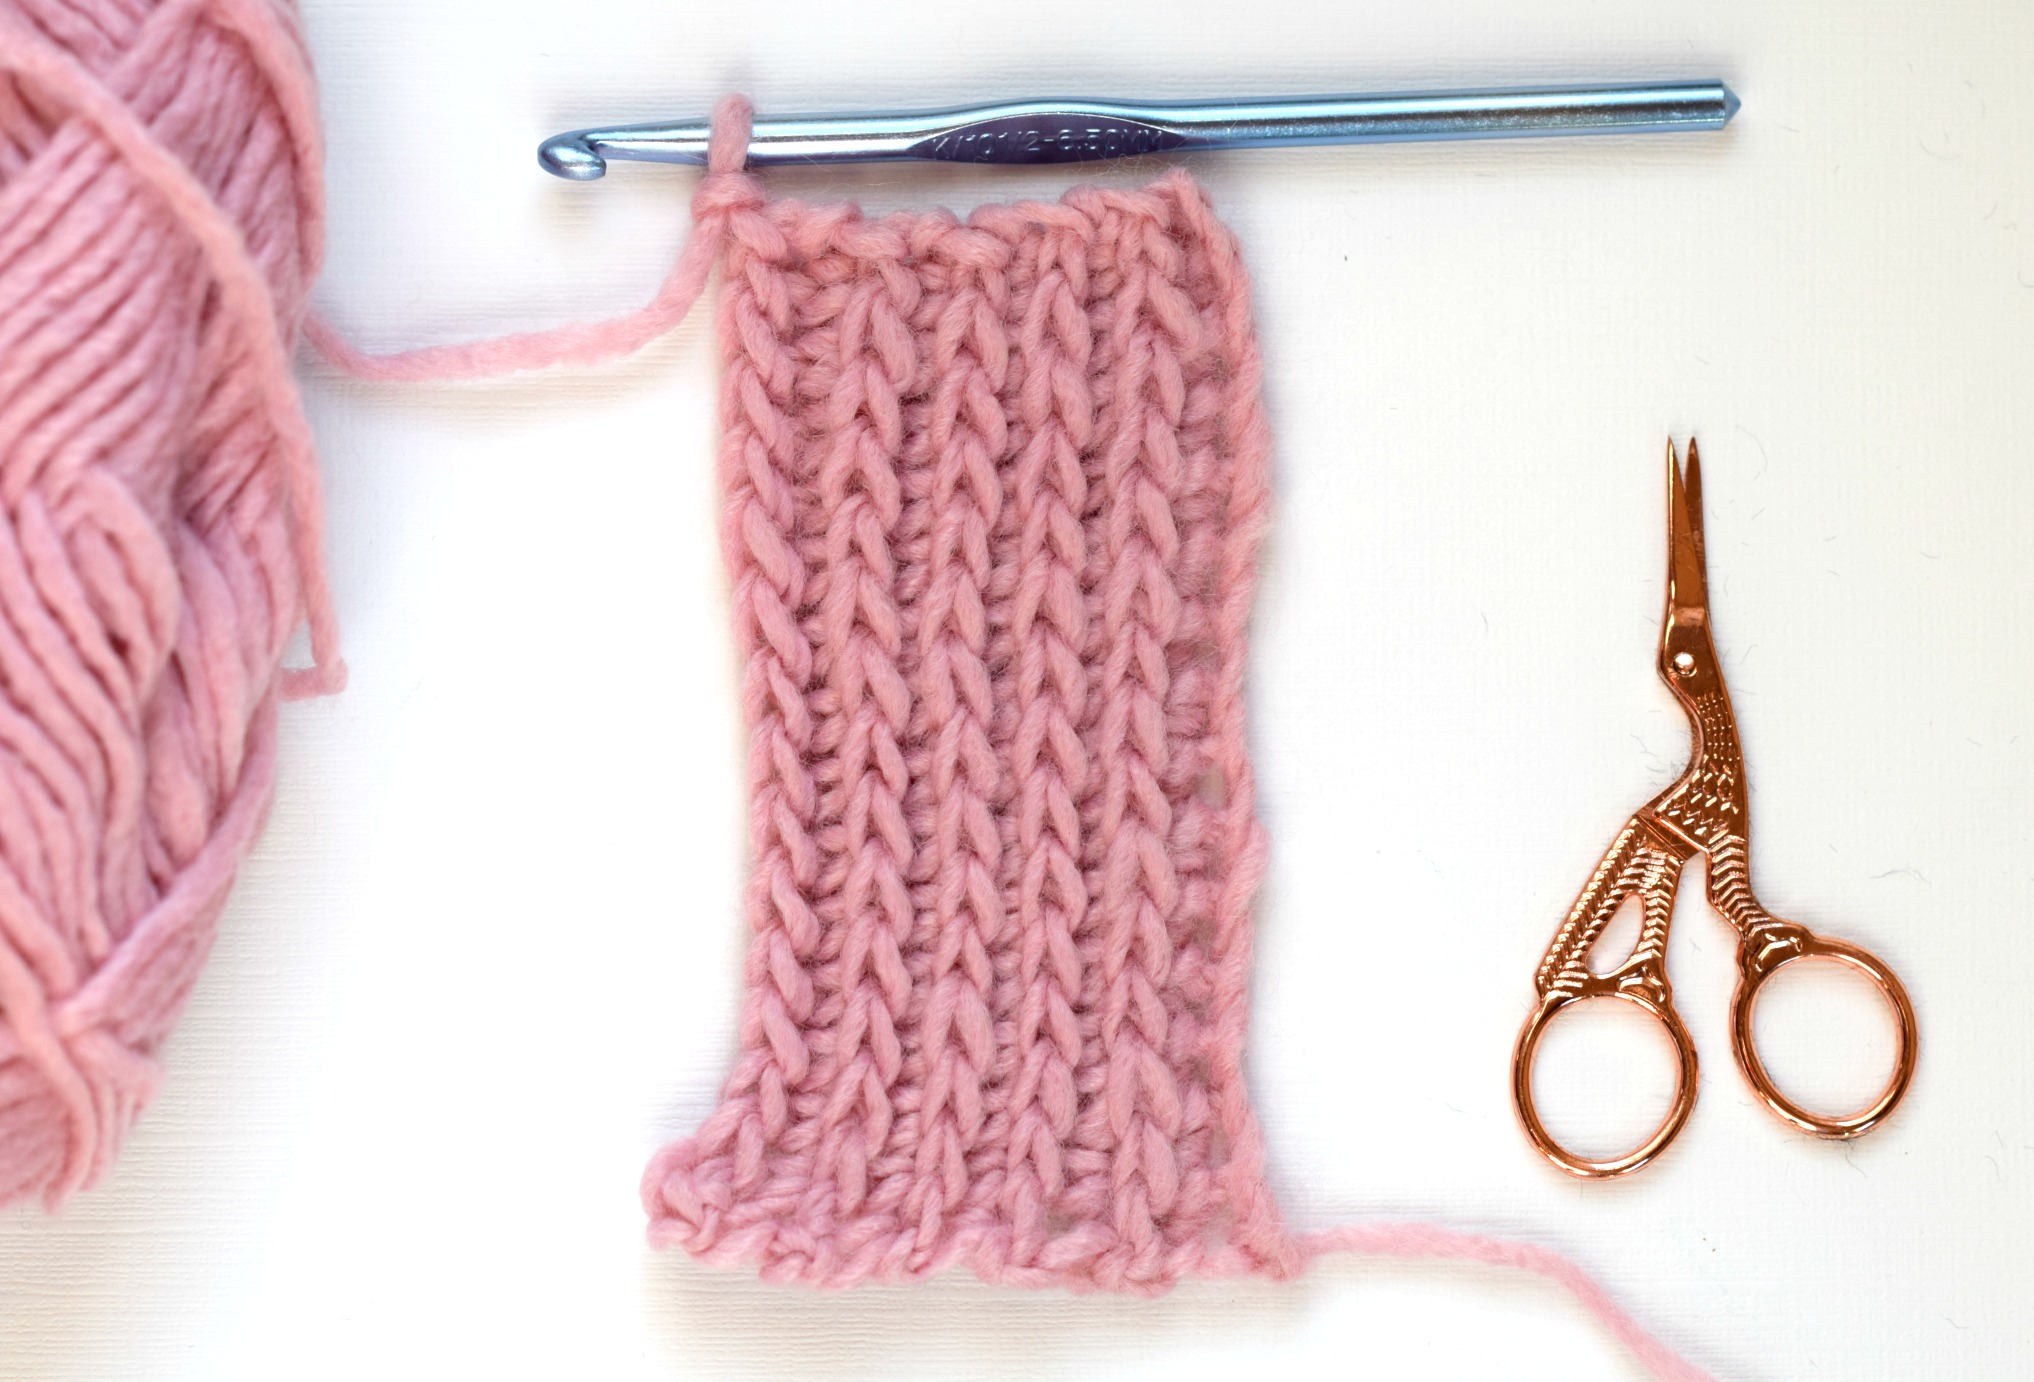
How To Crochet Ribbing Mama In A Stitch

Crochet Ribbing HTC and slip stitch free tutorial by Emmy + LIEN

How to crochet ribbing MyCrochetory Ribbed crochet, Crochet basics
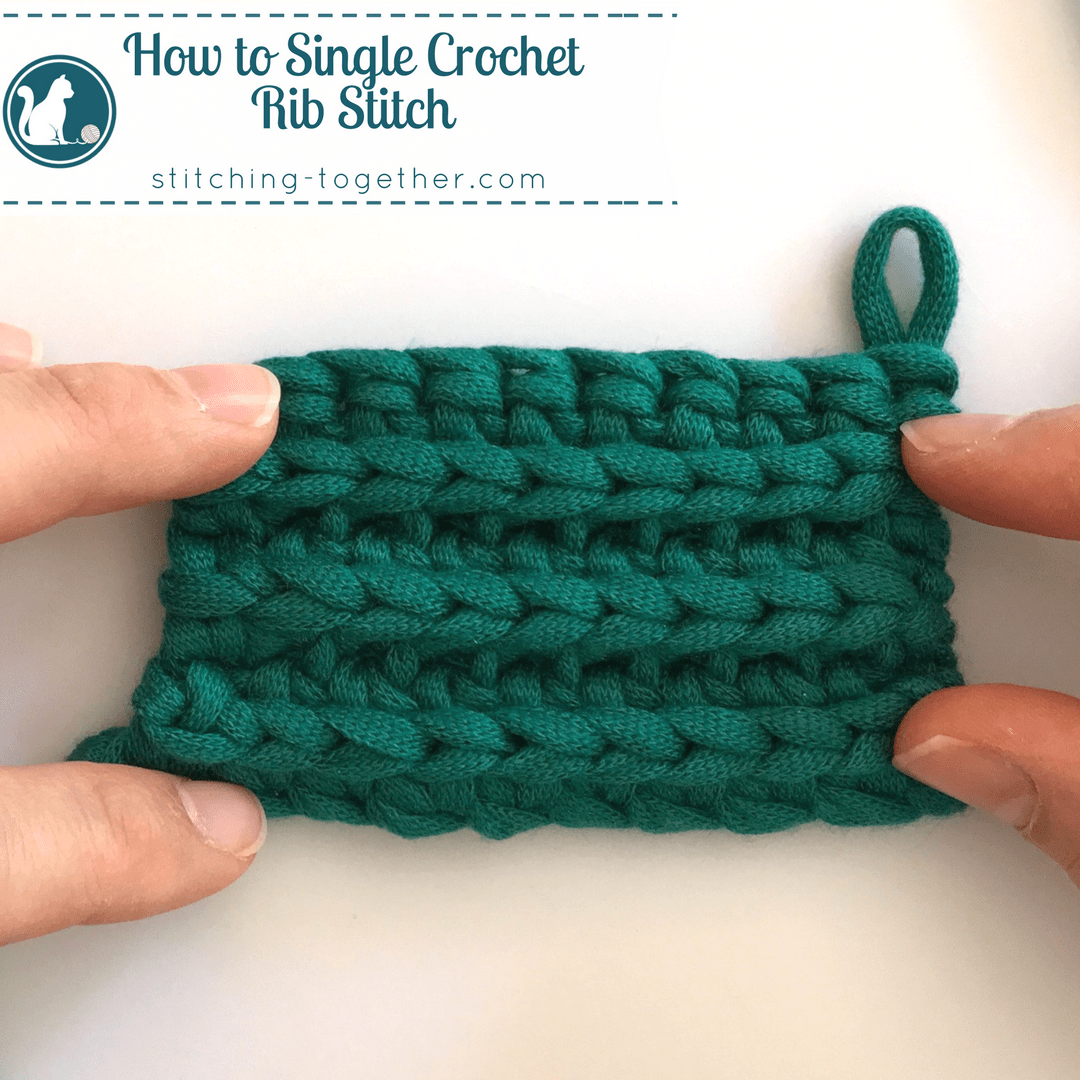
How to Single Crochet Rib Stitch
How to Crochet Ribbing 6 Easy Ways Stardust Gold Crochet

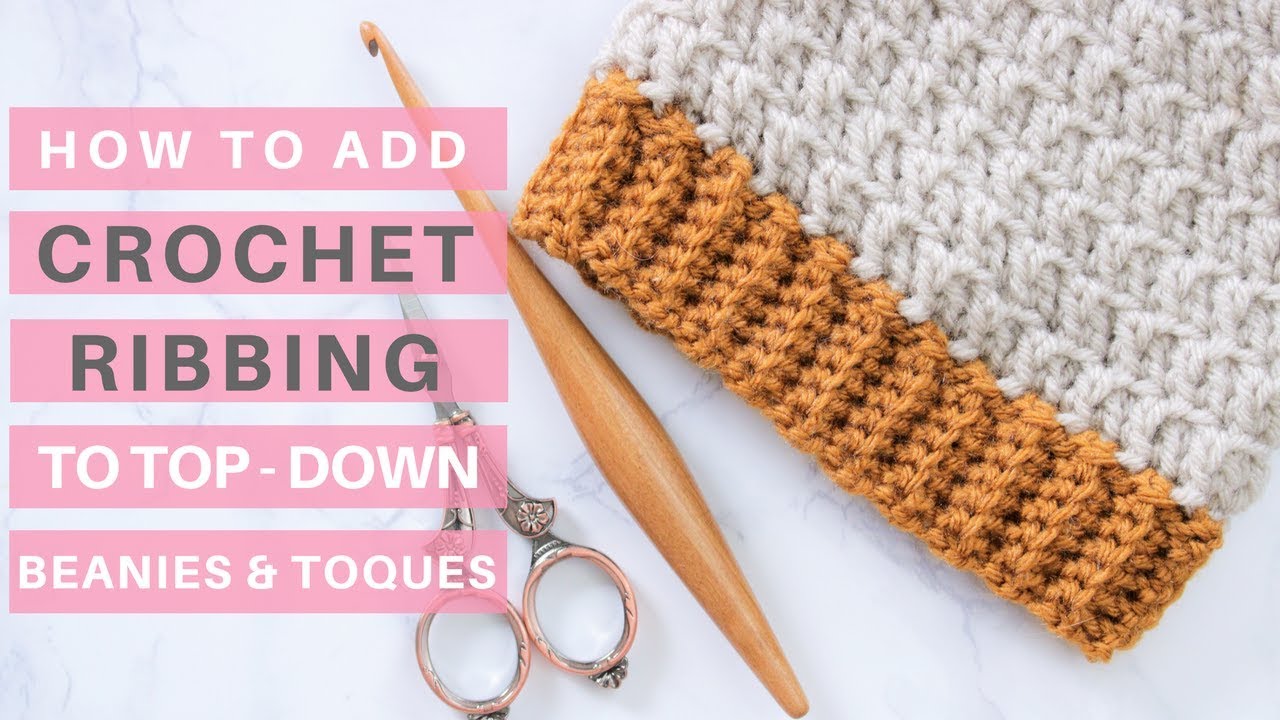
How to Make the Perfect Stretchy Crochet Ribbing for Hats!

Crochet Ribbing Tutorial How to Crochet Ribbing YouTube
Crochet Ribbing Tutorial Tutorials & More
Crochet Ribbing Tutorial *Video Tutorial & Pattern Ideas* YouTube

Single Crochet Ribbing (Easy Tutorial) love. life. yarn.
Web Crochet Ribbing Can Be Created Using Different Types Of Stitches, But The Most Common Stitch Used Is The Single Crochet Stitch (Which Is Also The One We Do In This Tutorial).
Both Vertical And Horizontal Ribbing Can Be Created By Learning Three Very Easy And Helpful Techniques.
Web Welcome To This Soothing Crochet Tutorial!
Web In This Pose You Will Learn How To Crochet Ribbing 6 Easy Ways.
Related Post: